Even though I've been using Weight Watchers recipes for the past four months, I'm still regularly surprised at how YUMMY some of their recipes turn out! My recent find is their recipe for a Creamy Lemon Pie...which I turned into a Creamy Lime Pie, to suite my husband's preference.

INGREDIENTS
6 whole reduced-fat cinnamon graham crackers
2 Tbsp butter
11 oz fat-free sweetened condensed milk
2 large eggs
1/2 cup fresh lime (or lemon) juice
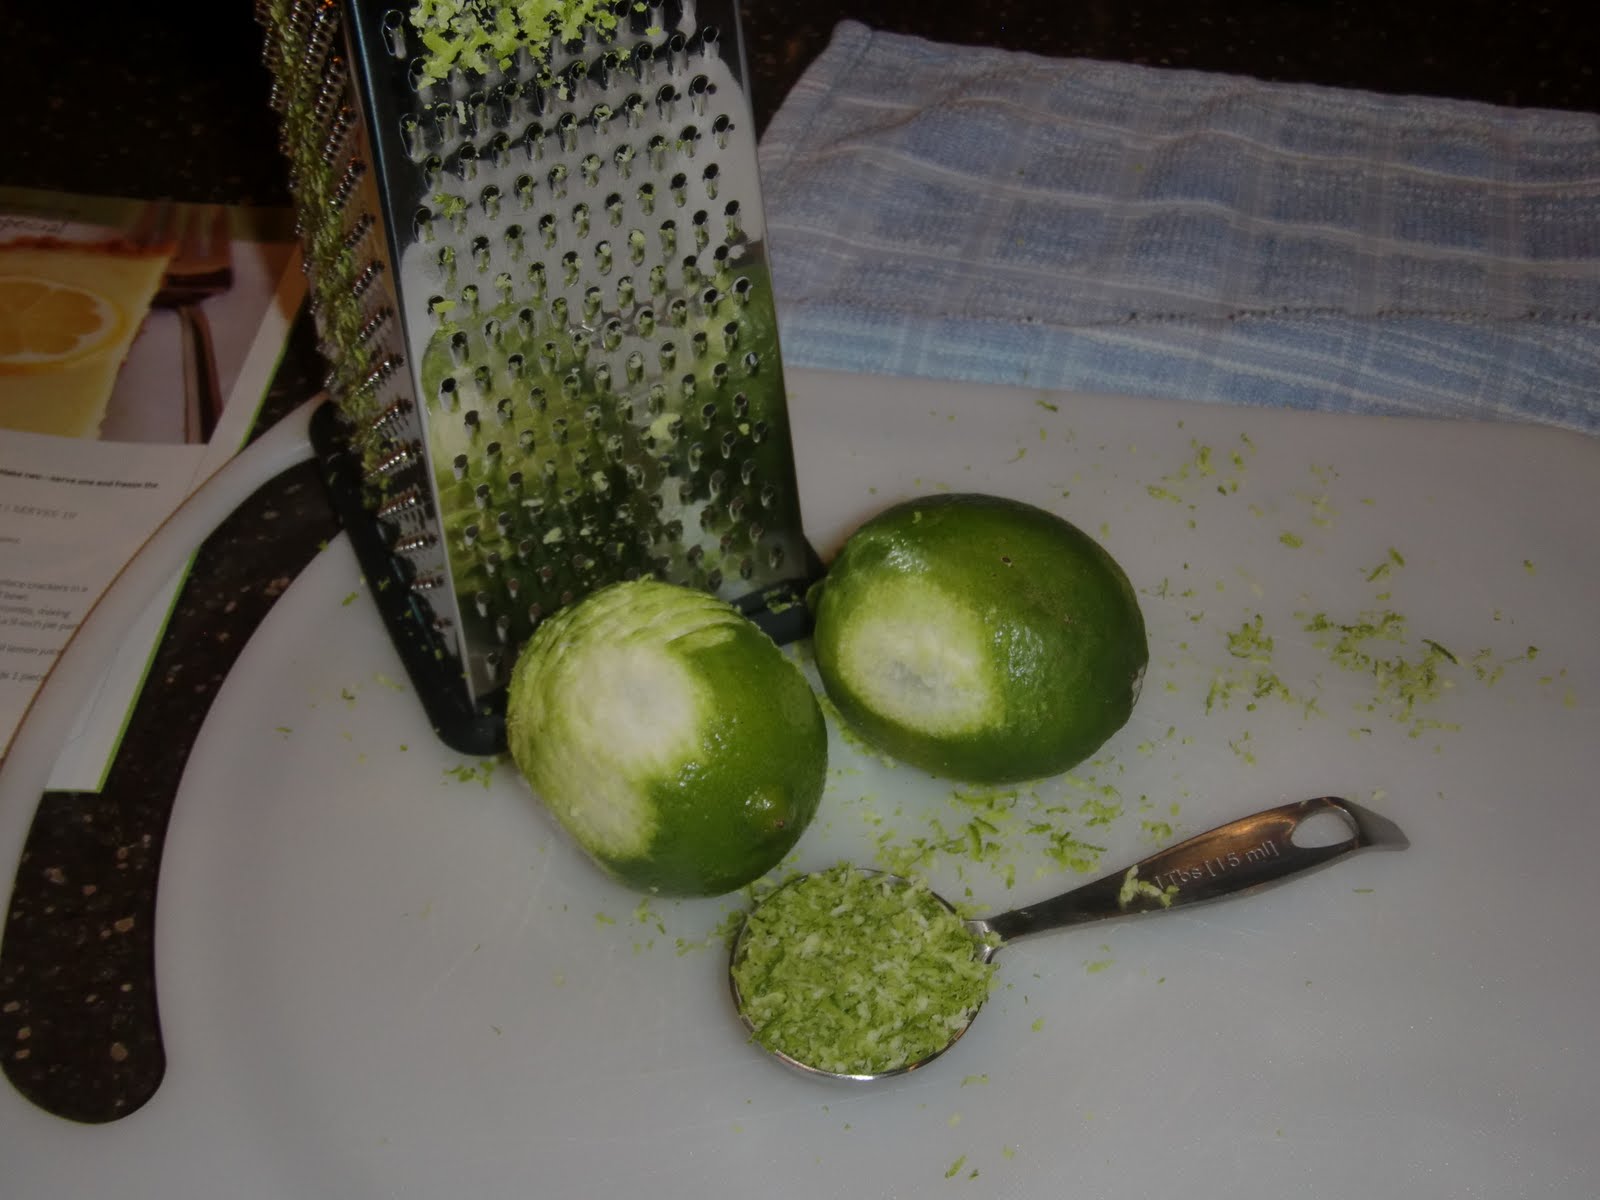
2 limes (or lemons) for making 1 Tbsp lime (or lemon) zest
The very first step is to preheat the oven to 350 degrees. Next, put the graham crackers into a ziplock bag and smash/crush them into fine crumbs with a rolling pan. Or at least, this is the method I used--you could also grind the crackers into fine crumbs with a food processor. Mine was dirty so I went with the more physical option lol.


Next, melt the 2 tablespoons of butter in a small bowl. Add the fine crumbs to the butter and mix the two together with a fork until all the crumbs are moistened by the butter. Next, spray a 9" pie plate with Pam and press the crumbs evenly into the pie pan to form a crust.


Pop the pie plate into the refrigerator while you make the filling--this way the crust has an opportunity to actually set a little bit. To make the filling, assemble all of the ingredients--the sweetened condensed milk, eggs, lime juice and limes.

In a medium bowl, mix the condensed milk and eggs together until the mixture is smooth. This actually takes a bit of strength and time to do--silly stubborn mixing ingredients!

Next, grate the limes until you have enough zest for one tablespoon. Make sure to use the side of the grater with medium holes. The little bitty holes seem like a good idea, but they don't give you a nice zest and they're a pain in the butt to clean. Once you have that, mix the zest and lime juice into the milk-and-eggs mixture, stirring until everything has been thoroughly combined.

Now, pull the pie plate out of the fridge and CAREFULLY pour the mixture into the pie crust. I emphasize carefully because, well, I wasn't careful and had a bit of a mess to clean up.

Finally, pop the pie into the oven for 20 minutes. The recipe called for 15 minutes of baking, but my pie didn't set up enough, so I let it bake for another 5 minutes beyond that. Then it was perfect! I didn't get a picture of the finished product--my silly camera died. But it was slightly browned on top and barely jiggly when I shook it. Finally, Let the pie cool completely and then place it in the refrigerator for 12-24 hours. The pie has its best taste and consistency when served chilled. Yumyumyumyum. It's a great summertime pie, that's for sure! Enjoy!


0 comments:
Post a Comment
Thanks for stopping by!
I love reading your thoughts about my posts, so please leave a comment!
I'll either respond here or come comment back on your blog, promise! ;-)