Showing posts with label cooking. Show all posts

Wednesday, November 14, 2012

What a Month!

I've been meaning to post an update for what feels like ages...but looking on here, it's only been a month since my last entry!  I guess that shows how busy we've been lol.  So, just in time for the craziness that the holidays always bring, I'm going to share in brief form what all we've been up to for the past month!

CAYLEE
Our Caylee-bear will be 3 months old in two days!  The time just seems to be flying, but I know that we're doing our best to enjoy every single day and experience with our baby girl.  She's getting so big, and developing so much!  I'll do a picture post on her 3 month bday, of course, but here's an activity update!
  • Eats at 6-6:30am. 9am. noon, 3pm, 5:30pm, and 8pm.  Has 30-60mins of awake time after each feeding, and then naps until her next baba.
  • Rolled over from back to tummy--TWICE--at Park Avenue Yarns!
  • Rolled over from tummy to back once here at home!
  • Has the "social smile" down pat, and GRINS whenever she is really happy, or when she sees me or her Daddy first thing in the morning!
  • Sleeps from 9pm-ish to 6am-ish most nights!
  • Eats between 4 and 5 ounces most feedings!
  • Has gotten really good at grabbing things in the past week...even if she can't control what she does with them beyond that!
  • Has really active playtime on her mat!
  • Holds her binky in about half the time.
  • Pats the bottle during feedings.
  • TALKS!  Well, baby talk lol.  She makes all sorts of coo and goo and mmmm sounds now!  She actually woke us up the night before last at 2:45am talking...for about 30 minutes lol. 
  • Has started self-soothing sometimes when she wakes up at night...see above lol.
  • Has a new best friend--Raffa the Giraffe!         
 
BRYAN
  • Built his work benches in the garage.
  • Getting really close to having the Sportster where he wants it.
  • Bought a new, self-propelled lawn mower when the lawn mower from my childhood stopped working.
  • Fixed the old lawn mower.
  • Has the back yard about where he wants it, as far as flowerbeds and such.
  • Working really hard at work.
  • Is fantastically supportive and all-around wonderful :-).  And such an amazing Daddy! 
ME
  • Enjoying the heck out of all the baby cuddles I can, and loving every minute of taking care of my beautiful, sweet daughter--even on the rare fussy occasions, and the rare-but-not-as-rare-as-fussiness early morning wake ups.
  • Finally got my butt to a Weight Watchers meeting to weigh in last week, and returned this week.  In other words, I've officially gotten started.
  • Had a blast at the Quilt Show with Mama Lynn and Julie--and bought waaay more yarn than I had intended lol.  Also, bought yarn and INTERCHANGEABLE NEEDLES at Park Avenue Yarns' Anniversary Sale!
  • Have started knitting again!  Lucy's hat is done, and her blanket and Nannie's scarf will be done by Christmas--I hope!  And then I can start on my long list of other projects :-).
  • Bought 3 new WW cookbooks, and spent all day yesterday cooking and freezing meals for when we get back from the Ranch.  Mostly, because I don't want to have to menu plan, grocery shop, or cook for a while lol.      
ANNABELLE & HALEY
  • Loving on their baby and coming to get us/howling and baying if we don't address her crying quickly enough.
  • Enjoying sleeping in bed with Bryan and I (Annabelle) and on cushy pillows on the floor (Haley).  Yes, we've gone soft lol.

All of us are very much looking forward to our trip to the Hill Country this holiday season, and seeing all the extended family that we haven't seen for over a year and a half now.  And, of course, looking forward to Caylee meeting all of her cousins that she hasn't met yet!!!  Hope everyone has a happy Thanksgiving!
     

Thursday, April 7, 2011

Pecan-Crusted Chicken

One of the wonderful things about WeightWatchers is all of the recipes for chicken!  I LOVE chicken, but sometimes its hard to keep it from getting dull.  This week, I once again turned to my WeightWatchers 5 Ingredient Cookbook for a chicken recipe!  Admittedly, I've made this before and made it this week because the hubby has been asking for it--in my book, that makes it an unqualified success!  I did tweak the recipe a bit, using 1/2 cup of chopped pecans instead of 1/4 cup--it ended up with MUCH better pecan coverage!
Anyway, without further ado, here's my adjusted recipe for Pecan-Crusted Chicken!

INGREDIENTS
Chicken Breasts (boneless, skinless)
3/4 cup lowfat Buttermilk
1/2 cup of chopped pecans
1/3 cup plain dried breadcrumbs
1 teaspoon Cajun seasoning

The first step is to go ahead and preheat the oven to 350 degrees.
Next, trim off all the fat/icky parts of the chicken breasts.  As always, I trim one of the breasts down to 4 ounces--one serving!
Once the chicken in trimmed, pour about half of the 3/4 cup buttermilk into a large bowl that has a lid.  Place the chicken breasts into the buttermilk and then pour the remaining buttermilk over the chicken breasts.  Move the meat around so that most of it is covered with buttermilk.

Then put the lid on and stick the bowl in the fridge.  The directions say to leave it in there for 20 minutes, which I did this time, but last time I only left it in for 10 minutes, and it turned out just fine.
Next, measure out the 1/2 cup of chopped pecans, 1/3 cup of breadcrumbs, and 1 teaspoon Cajun seasoning.  Pour all of it into a small mixing bowl and mix it together well.

Now, that took me all of about 5 minutes.  Which left another 15 minutes to wait on the chicken.  So, I cleaned the kitchen, watched a bit of TV, and fed the puppies...who had been watching me avidly, waiting for chicken to drop lol.

Towards the end of the 20 minutes, spread a piece of wax paper on the counter.  Pour the dry ingredients on the wax paper and spread them out evenly.  

Also, get out a medium baking dish and spray it with PAM.  Once that's done, and the 20 minutes are up, take the chicken out of the fridge and set up your assembly line:  chicken bowl, dry mix, baking dish.

Take one breast at a time out of the buttermilk and hold it above the bowl to let most of the excess drip off.  With that done, place the chicken breast on top of the dry mixture and press down so that the breading and pecans stick firmly to the meat.  Switch sides and again press down firmly.  Once the chicken breast is thoroughly coated in dry mix and pecans, place it in the baking dish.  Repeat this with each breast.
 
Once that's done, pop the baking dish in the oven for 45 minutes.  After the chicken is finished cooking it should be white all the way through, but still moist.  I served mine with SteamFresh broccoli in cheese sauce and mixed veggies.  Once again, this was a big success with the hubby, and I have to say I sure thought it was yummy too!
I hope y'all enjoy it as well!

Thursday, March 31, 2011

Feta and Pesto Stuffed Basil Chicken

It's a very descriptive title isn't it?  Lol.
I found this recipe in my 5 Ingredient WeightWatchers Cookbook, and it has quickly become a favorite around here.  The best part?  I modified the recipe to make it SUPEReasy instead of just easy.  The other best part?  Only 5 ingredients!

INGREDIENTS
Chicken Breasts with Rib Meat, approx. 1 pound
Reduced Fat Feta Cheese, 1/2 cup
Basil Pesto, 2 Tablespoons
Black Pepper, 1/4 teaspoon
Dried Basil
 
The first step is to preheat the oven to 350 degrees.
While the oven is preheating, trim the icky stuff--ligaments, fat, that slimy "skin" stuff--off the chicken breasts.  Then, if you're trying to be a good little WeightWatcher like me, trim one of the breasts down to 4 ounces.  Sometimes, if you get three big enough breasts, you can just cut one in half and have two 4 ounce breasts.

Next, measure out 1/2 a cup of feta cheese and place it in a small bowl.  Add 2 Tablespoons of the basil pesto and the 1/4 teaspoon of black pepper.  Using a fork--yes, a fork--mix these all together in the bowl.  I've found that, since the feta cheese is so chunky, the best way to mix these ingredients is the actually smoosh them together using the tines of the fork, only occasionally stirring to fully combine everything.
 
Once the mixture is done, set it aside.  Get a sharp and small knife and cut a slit in the thick part of each chicken breast.  DO NOT cut all the way through the breast, nor cut all the way along the side.  Your goal is to make a pocket in the chicken breast, being careful to avoid puncturing the top or the bottom.  Once the pockets are made, fill each breast with approximately 2 Tablespoons of the feta-pesto-pepper mixture.
 
Now, get a large baking dish and spray it down with Pam.  I prefer Olive Oil Pam myself, but that's because I've only recently discovered how AWESOME Olive Oil is for you, and how yummy it makes food taste!

Once the baking dish is well oiled, place the chicken breasts into the dish, spacing them evenly.  Next, sprinkle the top of each chicken breast with dried basil.  How much you use depends on how much you like basil!  I like it quite a bit, so I used about 1/4 teaspoon on each chicken breast.  That amount gave nice coverage plus great basil flavor and tingle!

The next-to-last step is to pop the dish in the oven, which should have long finished preheating by now.  Bake the chicken breasts for 45 minutes.  I checked on mine at 40 minutes, just to make sure they weren't getting over-done, but they took the full 45 minutes to finish baking and still maintained excellent moisture and flavor!

The very last step is to serve and enjoy!  I served mine with green beans and corn, mostly because that's all I had on hand lol.  I definitely recommend your favorite veggies as sides, and my hubby enjoyed it with a Sierra Nevada Kellerweis!  I hope y'all enjoy it as well!

Wednesday, March 9, 2011

Chicken with Honey-Basalmic Glaze!

Normally, this would be a What I Love Wednesday post, but I'm going to follow the pattern of this week and post that a day late...so tune in tomorrow lol!
Today, I actually have a guest post on my friend Lauren's blog Pineapple Pizza!
Lauren and I met in college.  She's a super-fun fellow bookworm with lots of great stories, money-saving ideas, recipes and a knack for finding AMAZING YouTube videos--all of which she shares on her blog!
My guest post is a recipe for Chicken with Honey-Basalmic Glaze!

I hope y'all enjoy my recipe, and enjoy Lauren's blog!

Thursday, January 27, 2011

Coconut Shrimp!

I've really been slacking off on posting recipes lately!
And that is quite a shame because I've been coming across some that are quite excellent.
As I mentioned in my Chicken Marsala recipe post, I've been using the recipes available to me
as a Weight Watchers Monthly Pass member on Menu Planning Mondays to plan out our week's dinners.
Every recipe I've tried so far has been fairly tasty--but a few have been exceptional.
The Chicken Marsala was one, and the Coconut Shrimp was another!

I know, I know...how can Coconut Shrimp be a Weight Watchers recipe?
What about the frying?!  The oil?!  The batter?!
I was skeptical as well, but the recipe and the resulting meal proved me very wrong indeed!
 So, without further ado, here's the wonderful and easy Coconut Shrimp recipe!

This recipe makes 6 servings (4 shrimp per serving) at 6 WW points per serving!
INGREDIENTS:
Cooking Spray (I use the Pam Olive Oil Spray)
2 large egg whites
3/4 cup of all-purpose flour (divided into one 1/2 cup and one 1/4 cup)
6 ounces of beer, about 2/3 cup (I used Shiner 101--and my hubby finished it up for me;-)!)
1 1/2 teaspoons of baking powder
1/4 teaspoons of salt
2 cups sweetened coconut flakes (found on the baking aisle, in case you're wondering...I was lol)
24 large shrimp peeled and deveined (the original recipe calls for tails on, but I used tail-less--less work that way!)

The first step is to thaw the frozen shrimp!
I have an awesome cutting board with a rubber, collapse-able collander.
I uncollapsed the collander, put the frozen shimp in it, and ran cold water over them until they were thawed...which took about 5-ish minutes.
While the shrimp is thawing, go ahead and preheat the oven to 450 degrees.

Next I measured out the ingredients for the batter into a medium mixing bowl.
The two egg whites went first, followed the 1/2 cup of flour, 1/2 tsp of baking powder, and the 1/4 tsp of salt.
Next, I measured out the 2/3 cup of beer and added it to the bowl.

It got all bubbly and fizzy!
Once it settled down a bit I started whisking it all together--which caused more bubbling and fizzing!
Once it was all thoroughly mixed, the bubbling and fizzing settled down.
Next, put the remaining 1/4 cup of flour into one shallow bowl 
and the 2 cups of sweetened coconut flakes into another.
I then set up an assembly line with the thawed shrimp at the beginning, followed by the flour bowl,
followed by the batter mix and then the coconut flakes.
At the end of assembly line went the baking sheet, which is sprayed down with the Pam Olive Oil Spray.
All of this so far has been very easy.
The next part is still easy but, fair warning, it can get very tedious.
The first step is to take one of the thawed shrimp and dredge it through the flour, making sure it's completely coated.
Then shake the excess off.

Step two is to dunk the flour-coated shrimp into the batter, again making sure it's completely coated.
Then let the excess drip off back into the batter.
Step three is to roll the shrimp in the sweetened coconut flakes, once again making sure it's completely covered.
Make sure you press the coconut flakes into the batter--this gets messy but it's so worth it!
Then place the shrimp onto the sprayed baking sheet.

And now you repeat.
With each shrimp.
Yes, it's tedious BUT any short-cuts won't ensure the 
proper amount of flour, batter, and coconut coverage.
So, keep at it until all of the 24 shrimp are on the baking sheet.
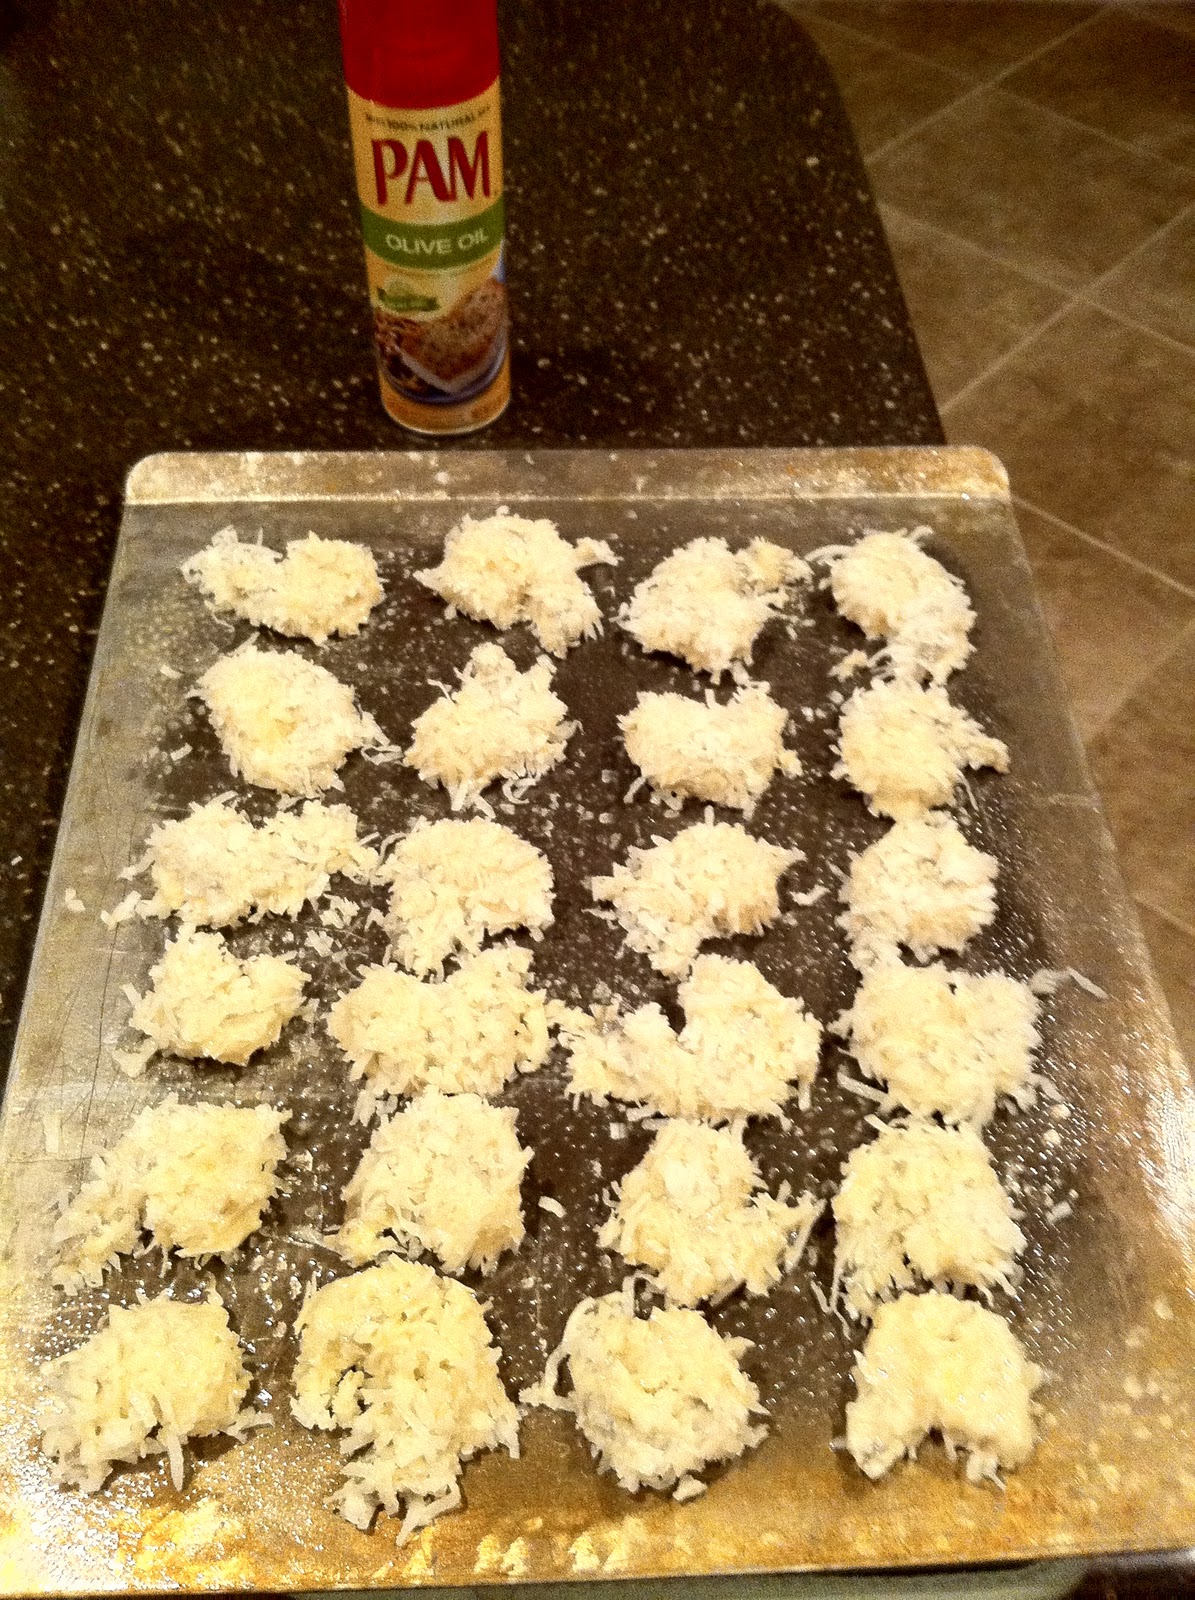
Next, spray the surface of the shrimp with the Pam Olive Oil Spray and pop the sheet in the oven!
After 10 to 12 minutes, the shrimp will be pink and opaque and the coconut flakes will be crunchy!
(I would recommend the 10 minutes...I did 12 and, as you can see, some of the coconuts flakes got burnt at the tips.)

I served the shrimp with mixed veggies.
There would have been green beans too, but the seal on the SteamFresh bag was messed up.
I also had a Messina Hoff White Zinfindel with the meal and it sure was tasty!

Bryan LOVED this recipe and said it needs to be a repeat...I call that success!

These pictures were taken with my IPhone, so sorry for the blurry shots and weird angles!
I've GOT to find that camera charger lol.


Thursday, January 13, 2011

Chicken Marsala

As part of my Monthly Pass membership with Weight Watchers, I have access to their online tools.
I love this feature because I can use the IPhone App in conjunction with said tools to track my points from my phone.
I also love that I can input my recipes into their recipe builder and come out with a points per serving--for example, my Garlicky Shrimp Bake is only 8 points per serving!
Another aspect of this feature that I love is the access to thousands of online recipes!!!

Last summer, I was determined to learn to cook.  I feel that, for the most part, I have accomplished this goal!
I also made the goal of menu planning every Monday, which I accomplish most of the time lol.
This combination of planning and cooking at home has saved us money and allowed us to eat healthier meals.
Now, on top of that, I have tons of recipes that already have calculated point values.
The past couple of weeks I have been cooking meals almost exclusively from the Weight Watchers' selection of recipes.
Most have been very good--and those that weren't awesome I have figured out how to improve with just a few adjustments.
Last night's meal was the best so far--Chicken Marsala!

INGREDIENTS:
1 pound uncooked boneless, skinless chicken breasts (each serving is 4 ounces)
1 cup of mushrooms (next time I'm going to add a lot more mushrooms--veggies are 0 points!)
1/2 cup of Marsala wine
2 teaspoons extra virgin olive oil
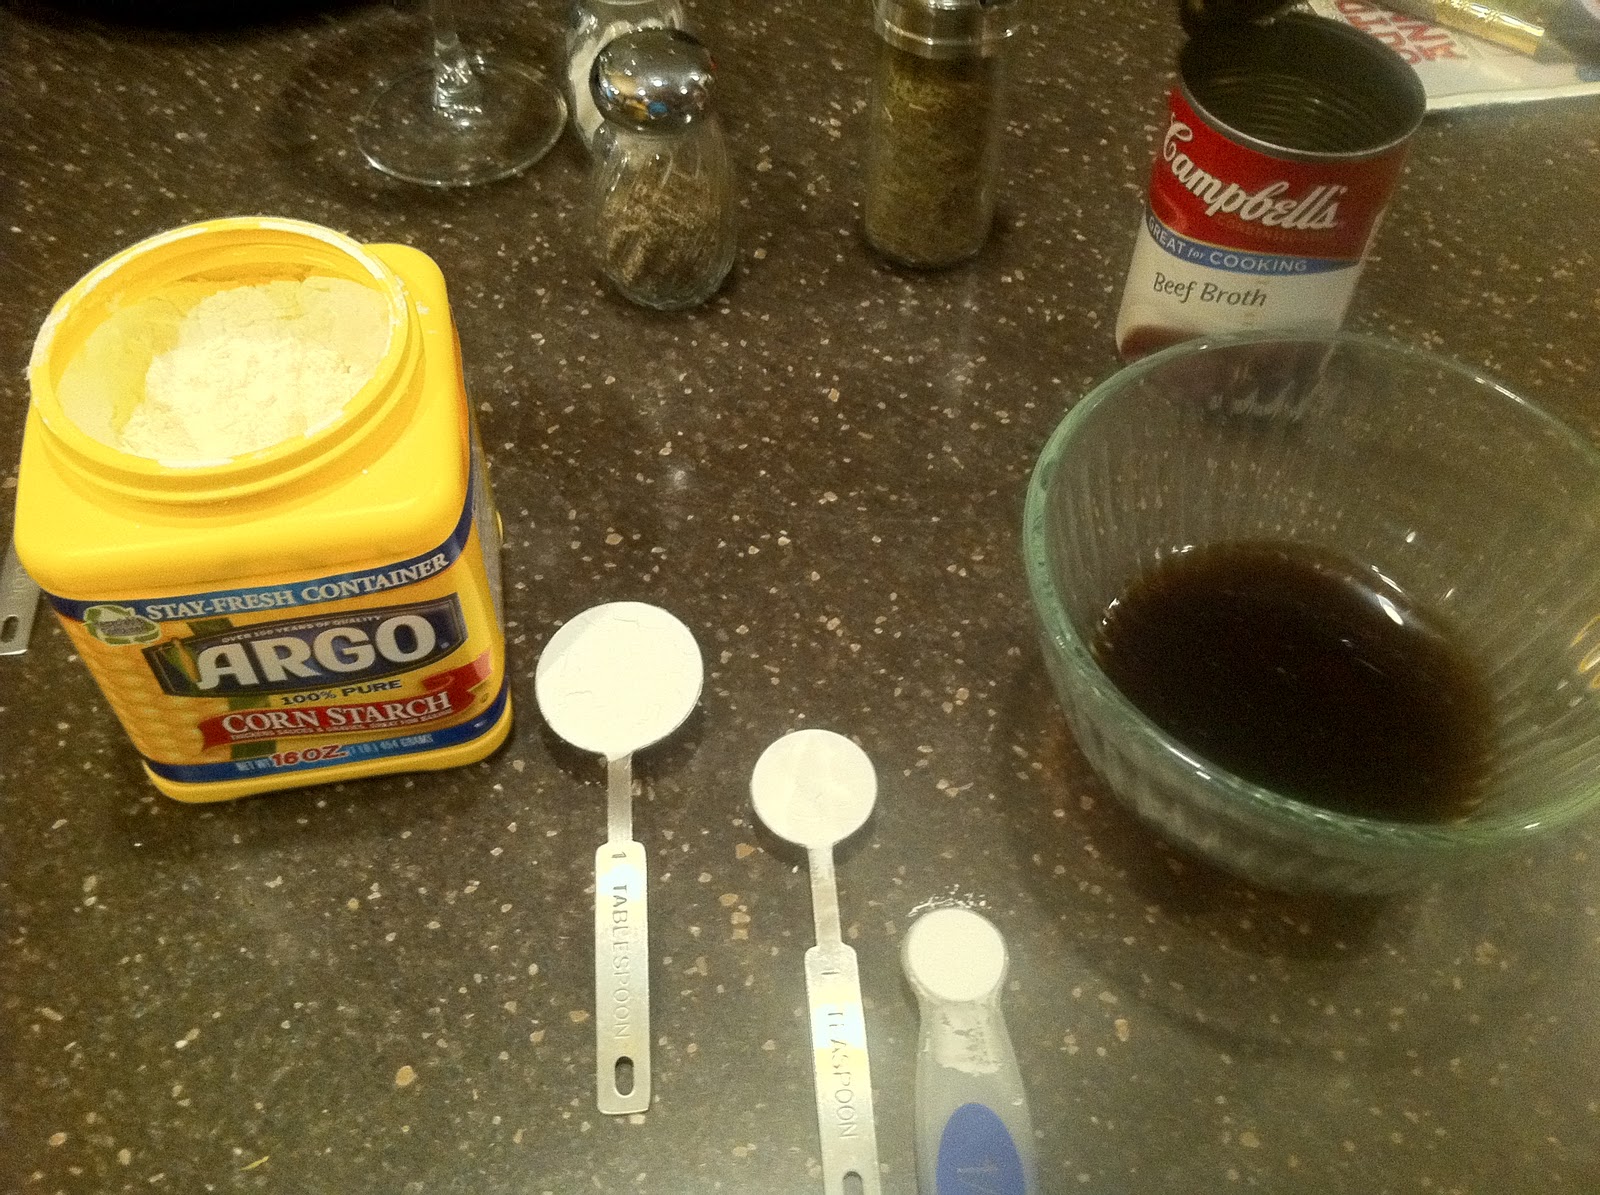
1 10.5 ounce can of Campbell's Beef Broth
1 teaspoon dried thyme
1/2 teaspoon table salt (next time I will leave this out--it doesn't taste bad, but it was a touch too salty for us)
1/4 teaspoon black pepper
1 1/2 Tablespoon cornstarch
My first step was to take the smallest chicken breast and, using my scale, trim it down to four ounces.
Other than trimming off nasty fat and ligaments, I left the other two alone.
After all, Bryan's not counting points lol!

Having done that, I heated the two teaspoons of extra virgin olive oil in a large skillet on medium-low heat.
As my parents always say, low and slow!  Otherwise, I tend to burn things lol.
Once the oil is heated, add the mushrooms.
Sauté them until they start getting juicy and brown--it took my mushrooms about 5 minutes to reach that point.

While accomplishing the mushroom objective, place the chicken on a plate--or, as in my case, a cutting board.
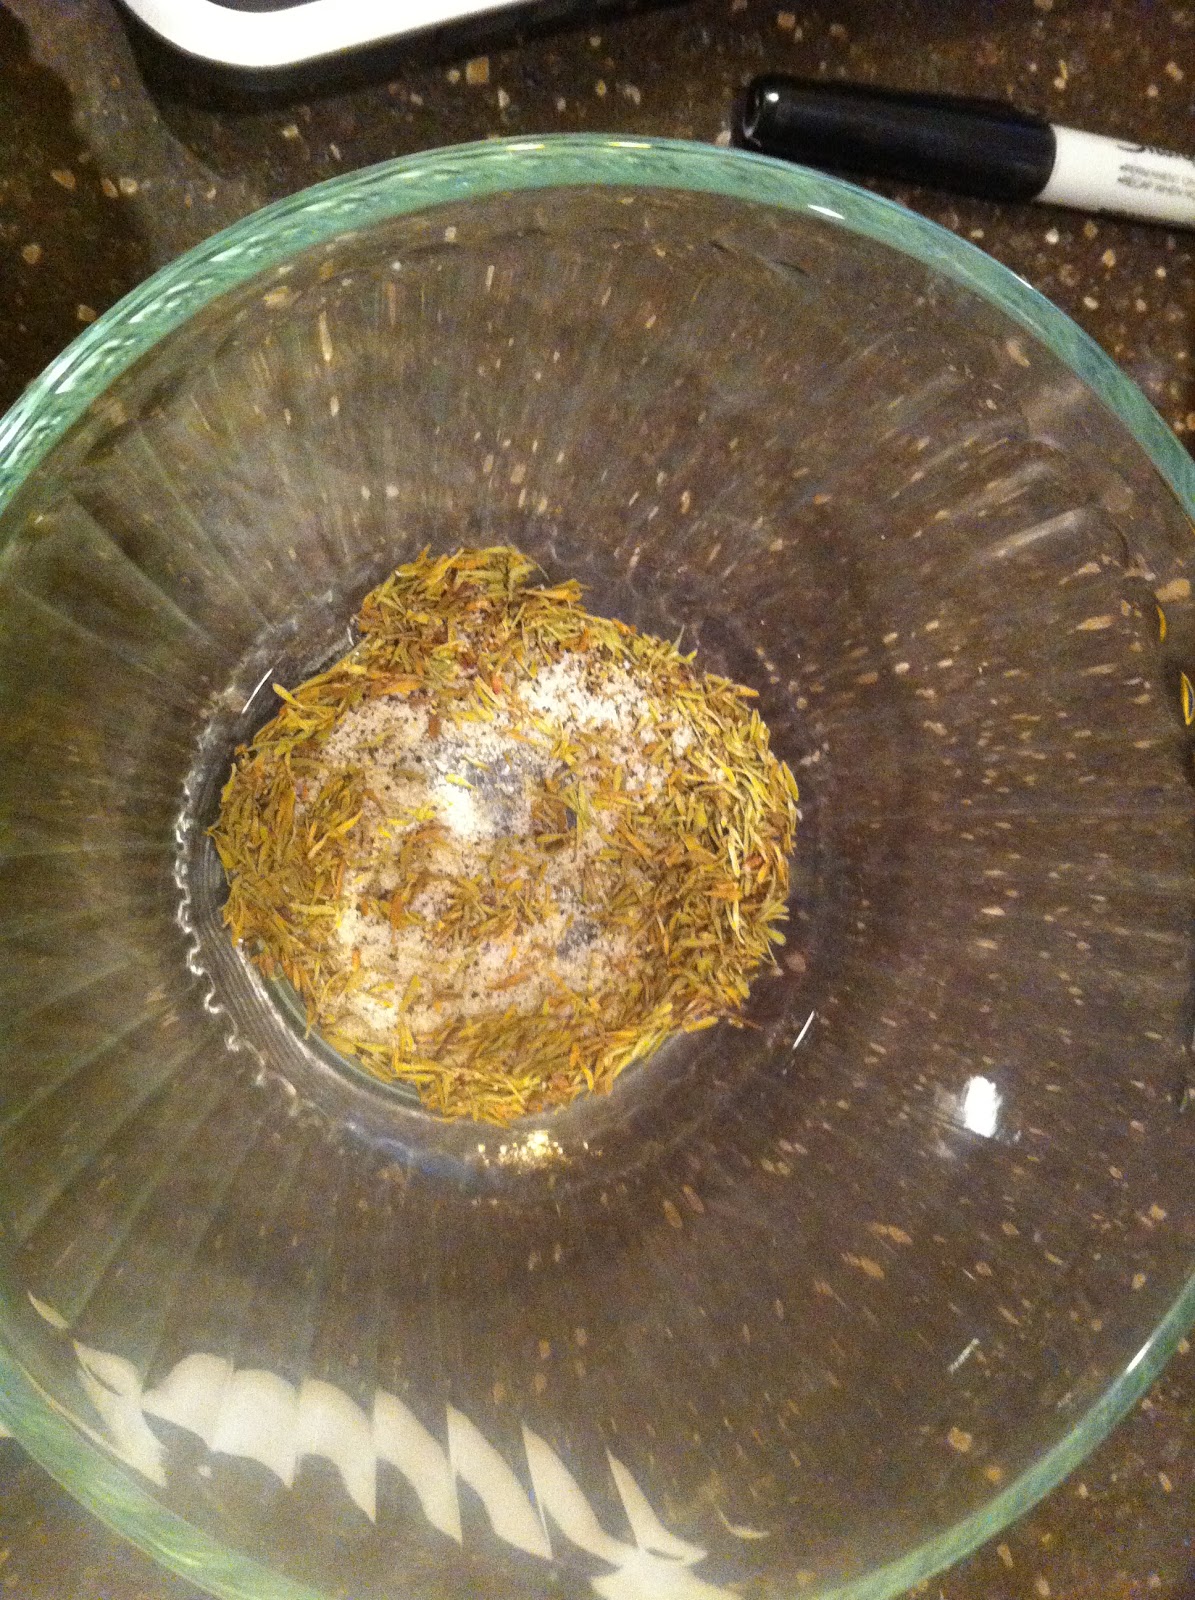
Mix the thyme, salt (if you're using salt--next time I won't be) and pepper in a small bowl and then use that mixture to season both sides of the chicken breasts.
I went ahead and used my hands to pound the seasonings into the breasts.
That sounds funny, but it kept the seasonings from falling off--I've had that problem in the past.

Now, scoot the mushrooms to the outer edges of the skillet and plop the chicken breasts in the middle.
It might take some creative, puzzle-piece maneuvering, but they will all fit.
Now, let the chicken cook until golden-brown.  For me, that was about 2-3 minutes a side.


While the chicken is cooking, measure out the 1/2 cup of the Marsala wine, and measure out 3/4 of a cup of the beef broth into one measuring cup, and 1/2 cup (or the rest) of the beef broth into another.

Once the chicken is browned on each side, pour the wine into the skillet.
At this point, go ahead and knock the mushrooms into the wine--they add and retain so much flavor!  Yum!
Allow it to simmer--not boil, but simmer (I always have trouble with that!)--for a minute or two.

Next, add the 3/4 cup of beef broth.
Once the liquids are simmering again, let the whole thing cook until the chicken is cooked through, which for me took about 8-10 minutes.
Always use a knife and fork to cut into the chicken to make sure it's not pink.
Pink=salmonella and salmonella is nobody's friend.


While the chicken is cooking, pour the remaining 1/2 cup of beef broth into a small bowl.
I used the same bowl that I had used to mix the thyme, salt and pepper--saves a dirty dish!
Next, measure out the 1 1/2 Tablespoon of cornstarch.
Don't have a 1/2 Tablespoon measuring spoon?
Neither did I!
Here's the conversion:  1 Tablespoon=3 teaspoons
So, measure out 1 Tablespoon and 1 and 1/2 teaspoons of cornstarch.
Dump that into the bowl of beef broth and use a whisk to dissolve it.

Once the chicken is completely done, re-stir the broth-cornstarch mix (because cornstarch likes to settle to the bottom of the bowl) and then pour the mixture into the skillet.
Allow it to simmer for a minute or three, stirring occasionally so that the sauce thickens up.

After that, all that's left to do is serve and enjoy!
Serve each chicken breast with plenty of mushrooms and (according to portion measurements) 1/3 cup of the sauce drizzled on top.
I also added mixed veggies and green beans as sides.
 
Bryan gave it a big thumbs up, and I have to say I enjoyed it as well.
I hope you do too, should you make this version of Chicken Marsala!

*I'm sorry for the grainy, inconsistent quality of some of these pictures!  I can't find my camera charger anywhere, so these were all taken with my IPhone.*

Wednesday, December 15, 2010

Eggy in a Basket

Anyone who's seen the movie V for Vendetta will remember this yummy breakfast meal.
Both V and Gordon fix Evie an eggy in a basket for breakfast.
I've made this meal a couple of times, just figuring it out as I went along, basing my procedure on what I remember from the movie.

INGREDIENTS:
2 slices of your favorite bread
2 large eggs
2 Tablespoons of butter
1 small diameter drinking cup
The first step is to melt 1 Tablespoon of butter on medium heat in a medium skillet.

As the butter is melting, place both slices of bread flat on a plate.
Press the open end of the drinking cup down into the center of each piece of bread until the cup touches the plate.

This results in two slices of bread with holes in them, as well as two small round pieces of bread.

Next, make sure your cooking buddy for the week is keeping his nose away from counter!  Silly Tiberius.

Then, place one piece of bread in the melted butter to toast.
While it's toasting, crack one of the eggs into the hole in the toast.

While the egg is cooking, slide the spatula under the whole thing a couple of times to make sure it isn't sticking.
Let the whole thing cook until the egg white is almost solid all the way up.

Now, take the spatula and carefully flip the whole thing--egg and toast--onto the uncooked side.
Let it cook for a short while on that side--a very short while if, like me, you only want to seal up the egg yolk, but still leave it liquid!
Peak under the edge of the toast with the spatula to make sure it doesn't burn.

Once it's done, flip it onto a plate.
Add the second tablespoon of butter and let it melt, and then repeat the whole process with the second slice of toast and second egg.

Once both eggies in their baskets are cooked, go ahead and lightly toast the two bread circles in the leftover butter.

They make great sop bread for when the egg yolks break on the plate!
Enjoy!

LinkWithin

Related Posts with Thumbnails